James Hardie Garage Conversion Contractor in San Jose: What to Know First
If you have a garage sided or trimmed with James Hardie products and want to convert that space into living area, we handle the full job: demolition prep, framing, insulation, drywall, flooring, electrical, and preserving or replacing the Hardie siding so the exterior still looks right. Garage conversions in San Jose typically run $85,000 to $150,000 depending on size, condition, and whether you’re adding a bathroom or kitchenette. We’re an independent James Hardie service provider (not affiliated with or authorized by the manufacturer), and we put the price in writing before any work starts. Call (669) 201-3984 for a free estimate. This page is for homeowners in San Jose who own a James Hardie-sided home and want to know what a garage conversion actually involves, what it costs, and what can go wrong if the siding and waterproofing details aren’t handled correctly.
Key Takeaways
- Garage conversions in San Jose run $85,000 – $150,000 before permit fees, depending on scope.
- James Hardie plank and panel siding has specific failure points around penetrations and ground contact that matter during conversion.
- We use OEM Hardie trim and flashing details where they affect the conversion, and quality aftermarket materials for interior work where they don’t.
- The Garrison Standard backs every job with a written 365-day guarantee. If the work fails, we return at no charge.
- Permits are pulled by the book. San Jose requires them for garage conversions, period.
How James Hardie Products Fail – and How We Fix Them
James Hardie fiber cement is good material, but it’s not indestructible. Around garage conversions in San Jose, we see the same failure patterns repeat. Here’s what actually happens and what we do about it.
- HardiePlank lap siding wicking at the bottom course. If the original garage slab sits low or the grade wasn’t sloped away, the bottom plank pulls moisture up through capillary action. In converted garages in Willow Glen and Cambrian, we regularly find the bottom course swollen or delaminating. Fix: remove the damaged plank, correct the grade or add a proper drip edge, and re-install with the required 6-inch ground clearance. Hardie’s own install specs call for it, and it’s the first thing we check.
- HardiePanel vertical siding cracking at fastener lines. Older HardiePanel installations where the installer nailed too close to the edge or over-drove the fasteners develop stress cracks that run from nail to nail. When we open the wall for garage-to-living-space conversion, we replace those panels and use the correct fastener spacing and depth. It’s a five-minute fix during framing that prevents a leak six months later.
- HardieTrim boards rotting at garage door opening removal. When you remove the garage door and frame in a wall, the old trim boards around the opening often show hidden water damage behind them. We see this constantly in San Jose’s older ranch-style homes, especially where sprinklers have been hitting the same spot for 20 years. Fix: cut back to sound framing, install new flashing, and use new HardieTrim or a rot-proof alternative that matches the existing profile.
- Improper flashing at the former garage door header. This is the big one. A garage conversion means the old door header becomes a wall. If the flashing above it wasn’t layered correctly (or wasn’t there at all), water gets behind the siding and rots the sheathing. We rebuild that assembly with proper Z-flashing and house wrap, and we detail it the same way Hardie’s technical bulletins specify because this is where converted garages fail first.
- HardieSoffit panels sagging after exhaust fan installation. If your conversion adds a bathroom or kitchen, the vent needs to go through the soffit or the wall. HardieSoffit panels that were never meant to carry a vent termination sag or crack around the new penetration. We reinforce the opening, use the correct vent cap, and seal it so the panel stays flat and dry.
Our James Hardie Garage Conversion Contractor Process
Here’s how a typical job runs with us, from the first call to the final walkthrough.
- 1
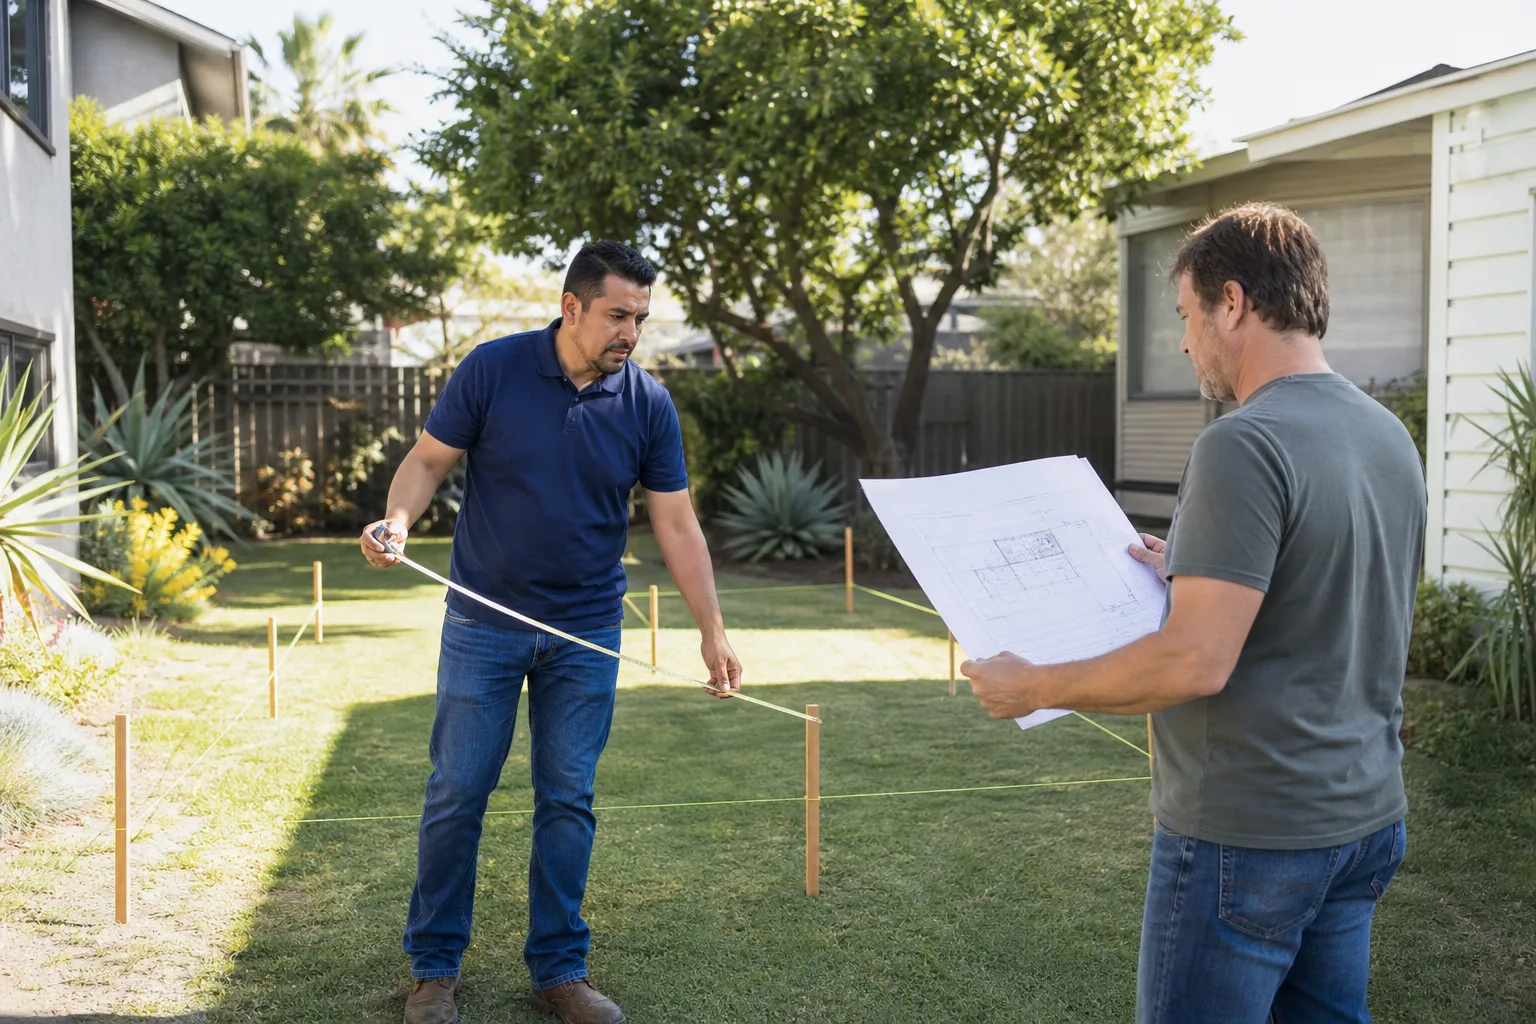
Call and site visit. You call (669) 201-3984, a live person answers, and we schedule a time to look at the garage. Reed Calloway or one of our senior project leads walks the space with you, checks the slab, the walls, the Hardie siding condition, and the electrical panel capacity.
- 2
Written price. Before any work starts, you get a fixed-price proposal in writing. It includes the full scope, the materials we’ll use (including any James Hardie replacement siding or trim), permit fees, and the schedule. The number you approve is the number on the final invoice.
- 3
Permits pulled. We pull the San Jose building permit and any electrical, plumbing, or mechanical permits the job requires. No permit board left blank, ever.
- 4
Demolition and framing. We remove the garage door, frame the opening, run new electrical and plumbing where needed, insulate, and drywall. Any damaged Hardie siding or trim gets replaced at this stage with the correct flashing details.
- 5
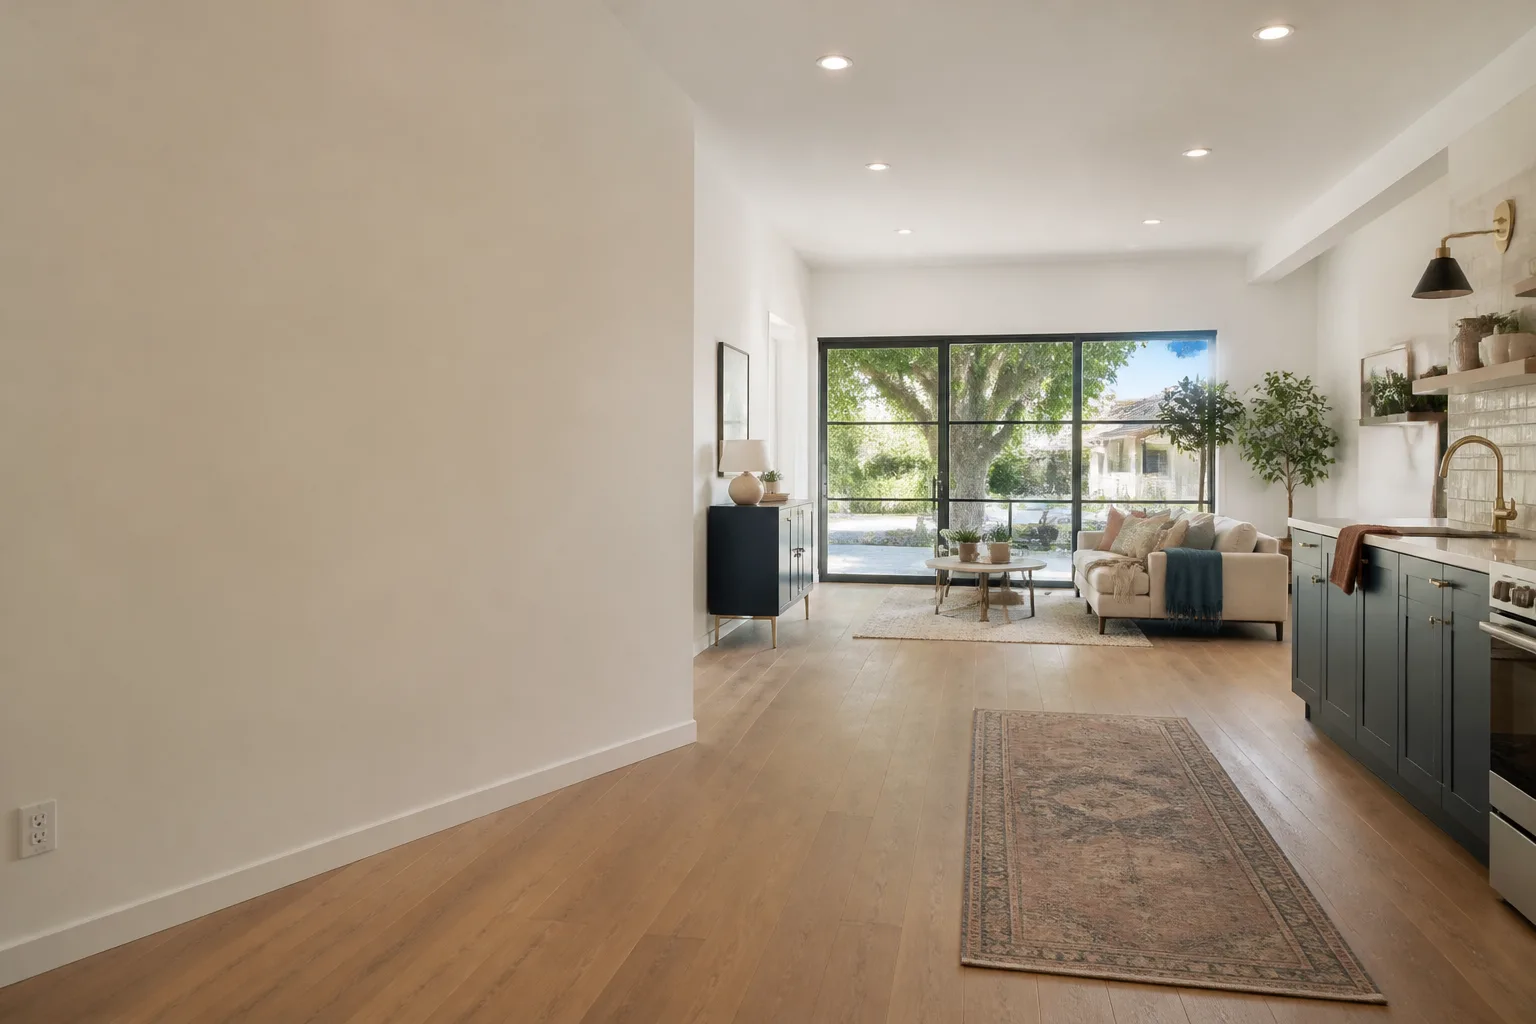
Finishes and exterior match. Interior finishes go in, then we detail the outside so the converted space looks like it was always part of the house. New Hardie plank or panel matches the existing profile and paint line.
- 6
Inspection and walkthrough. The city inspects, we pass, and we walk the job with you before we call it done. Then the Garrison Standard kicks in: one full year, in writing, with a free second visit if anything fails.
What James Hardie Garage Conversion Contractor Costs in San Jose
We don’t do vague pricing. Here’s what we see in San Jose right now.
- Basic garage-to-bedroom conversion (no bath): $85,000 – $110,000
- Garage conversion with full bathroom: $110,000 – $135,000
- Garage conversion with kitchenette and bath: $125,000 – $155,000
- Detached garage ADU conversion with James Hardie exterior work: $150,000 – $220,000
What moves the price: whether you’re adding plumbing, the condition of the slab (older San Jose garages often need leveling or moisture barrier work), the amount of Hardie siding or trim that needs replacing, and whether the electrical panel can handle the new load or needs an upgrade. Permit fees in San Jose add another $4,000 – $8,000 depending on the project. Call (669) 201-3984 for an exact quote. Estimates are free.
Why San Jose Homeowners Call Fielding ADU San Jose for James Hardie Work
Reed Calloway learned the trade at Los Angeles Trade-Technical College and spent two decades on residential builds across California before settling into the ADU and conversion work we do now. He’s been through enough change orders and blown schedules to know why homeowners in San Jose are skeptical. That’s why we run every job through the Garrison Code: show up in the window, price in writing, by the book, leave it clean, stand behind it for a year. Our crew is background-checked and uniformed. A live person answers the phone 24 hours a day. And we’re fluent in the platform options you may already be comparing: Abodu, Cover, and Dvele for prefab ADUs, plus conventional builds using James Hardie siding and Tuff Shed-style structures. Put it in writing, show up on time, build it right. That’s the whole approach here.
FAQs
No. The James Hardie product warranty covers the siding and trim material itself, not the structure behind it. Your conversion doesn’t void the Hardie warranty as long as any siding we install meets Hardie’s published installation requirements, which we follow on every job. However, the conversion does require a city permit, and any structural changes we make are covered under our own written 365-day guarantee. Call (669) 201-3984 and we’ll walk you through what applies to your specific home.
Yes. We match the existing Hardie product line (HardiePlank lap siding, HardiePanel vertical siding, or HardieShingle) to the correct profile, exposure, and paint color. Color matching is done from the original paint records or a physical sample, and we order the same line so the texture and shadow lines match. This is standard work on every garage conversion we do in San Jose.
Most garage conversions run 8 to 14 weeks from permit approval to final inspection. The two big variables are the city permit review timeline and whether the project requires plumbing. A basic garage-to-bedroom conversion without a bathroom is on the shorter end. Adding a bathroom and kitchenette pushes it to the longer end. We put the schedule in writing before work starts, so you’re not guessing.
No. The price you approve before we start is the price on the final invoice. If we uncover something unexpected during demolition (rotten framing behind the Hardie siding, for example, or a slab that needs leveling), we tell you, show you, and get your approval on the change before we proceed. No surprises at the end. That’s the Garrison Standard, and it’s in writing.
Yes. Every garage conversion requires a city permit in San Jose, and we pull all required permits ourselves. Unpermitted garage conversions are a genuine problem here: they fail resale inspections, they can trigger code enforcement, and they’re not covered by homeowner’s insurance if something goes wrong. We don’t build them. Every job we do is permitted, inspected, and signed off before we call it complete.
Get a Written Price on Your San Jose Garage Conversion
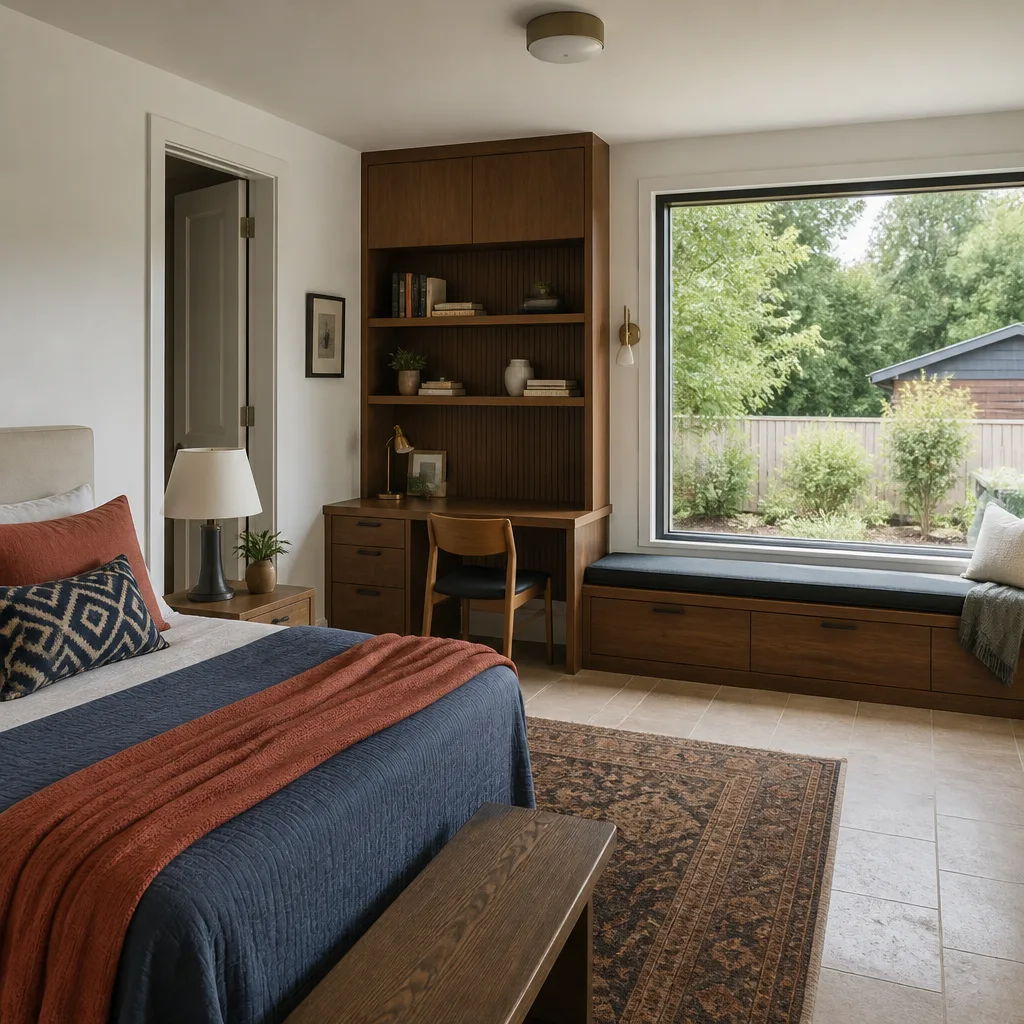
If you’ve got a James Hardie-sided home in San Jose and you’re ready to convert the garage, call (669) 201-3984. We’ll come out, look at the space, and hand you a written price before any work starts. The estimate is free, the schedule is realistic, and the guarantee is on paper for a full year.
Written by Reed Calloway, Owner, Fielding ADU San Jose at Fielding ADU San Jose, serving San Jose and nearby areas.