James Hardie Room Addition Contractor in San Jose: What to Know First
We’re an independent James Hardie room addition contractor in San Jose, which means we add living space to homes clad in HardiePlank, HardiePanel, and HardieShingle siding while keeping the exterior weathertight and the addition structurally sound. A typical room addition in San Jose runs 10 to 16 weeks from permit approval to final inspection, depending on size and site access. Our price goes in writing before any work starts, and that number does not move. If you’re planning a room addition on a James Hardie-clad home in San Jose, call (669) 201-3984 and we’ll give you a straight answer on cost and timeline.
Key Takeaways
- We are an independent James Hardie service provider, not a manufacturer-authorized dealer, and we match Hardie siding and trim on every addition so the new work blends with the existing exterior.
- Room additions in San Jose require permits, and we pull them. Every project is built to code and inspected.
- Our written price is fixed before demolition starts. The number you approve is the number you pay.
- Every addition carries the Garrison Standard: one full year of written guarantee. If something fails, we come back and fix it at no charge.
- Call (669) 201-3984 any hour. A live person answers, not a voicemail.
How James Hardie Products Fail – and How We Fix Them
Hardie siding does not fail like wood. It will not rot, and termites leave it alone. What we see in San Jose is different: improper flashing at transitions, nail pops from seismic movement, and water intrusion where an addition ties into the existing wall. Here are the failure modes we handle most on San Jose room additions.
- HardiePlank lap siding butt joints opening at the addition seam. When a room addition settles during its first two years, the joint where new HardiePlank meets old HardiePlank can gap. Hardie guidance calls for a 1/8-inch gap at butt joints, but settling can open that to 3/8-inch or more. We remove the affected planks, reflash the joint with proper OSI or Hardie-recommended sealant, and reset the plank with new nails. The joint stays closed because we address the settlement, not just the gap.
- HardiePanel wicking at the bottom edge on a raised foundation addition. In San Jose’s winter wet season, HardiePanel sheets that sit too close to grade absorb moisture through the bottom edge. Hardie recommends 6 inches of clearance from grade. On additions with low crawlspace vents or awkward grading, we sometimes see swelling and delamination at that edge. The fix is cutting back the panel, installing Z-flashing at the sheathing joint, and either regrading or adding a concrete stem wall detail if clearance cannot be met without it. We also check the original Panel installation for this same issue when tying in.
- HardieTrim boards cracking at outside corners on west-facing San Jose additions. The afternoon sun in Almaden and Cambrian heats dark-painted HardieTrim fast, and fiber cement expands and contracts enough to stress the corner joints. We see hairline cracks in the factory-painted finish that, left alone, let water in. The right fix is not caulking over the crack. It’s removing the trip, replacing it with a new piece, and reinstalling with the correct 1/4-inch expansion spacing at the edge. We also switch to a primer-and-two-coat paint system on that corner if the original factory finish is the problem.
- HardieShingle tabs breaking off at roofline transitions on additions. Where an addition roof meets an existing second-story wall, the shingle course directly under the kickout flashing takes a beating during wind-driven rain. We replace those shingle panels routinely on San Jose homes built in the early 2000s, especially in the Rose Garden and Willow Glen where two-story remodels and additions from that era are common. The new panels get a proper kickout flashing detail that directs water away from the wall instead of into the shingle’s exposed edge.
- Improper flashing at the addition-to-existing wall seam. This is the quiet problem. A previous contractor runs the new Hardie siding up to the old stucco or the old Hardie siding and seals the seam with caulk. That seam fails, and the wall sheathing behind it gets wet. We cut back the old siding, install a proper two-piece flashing assembly with a drip leg, and re-side both sides so water sheds away from the wall. This is the most common repair call we get from San Jose homeowners within five years of a room or ADU addition.
Our James Hardie Room Addition Contractor Process
- 1
You call and speak to a person. There is no phone tree. You reach someone who can schedule a site visit, answer basic questions about cost, and tell you the truth about San Jose permitting timelines.
- 2
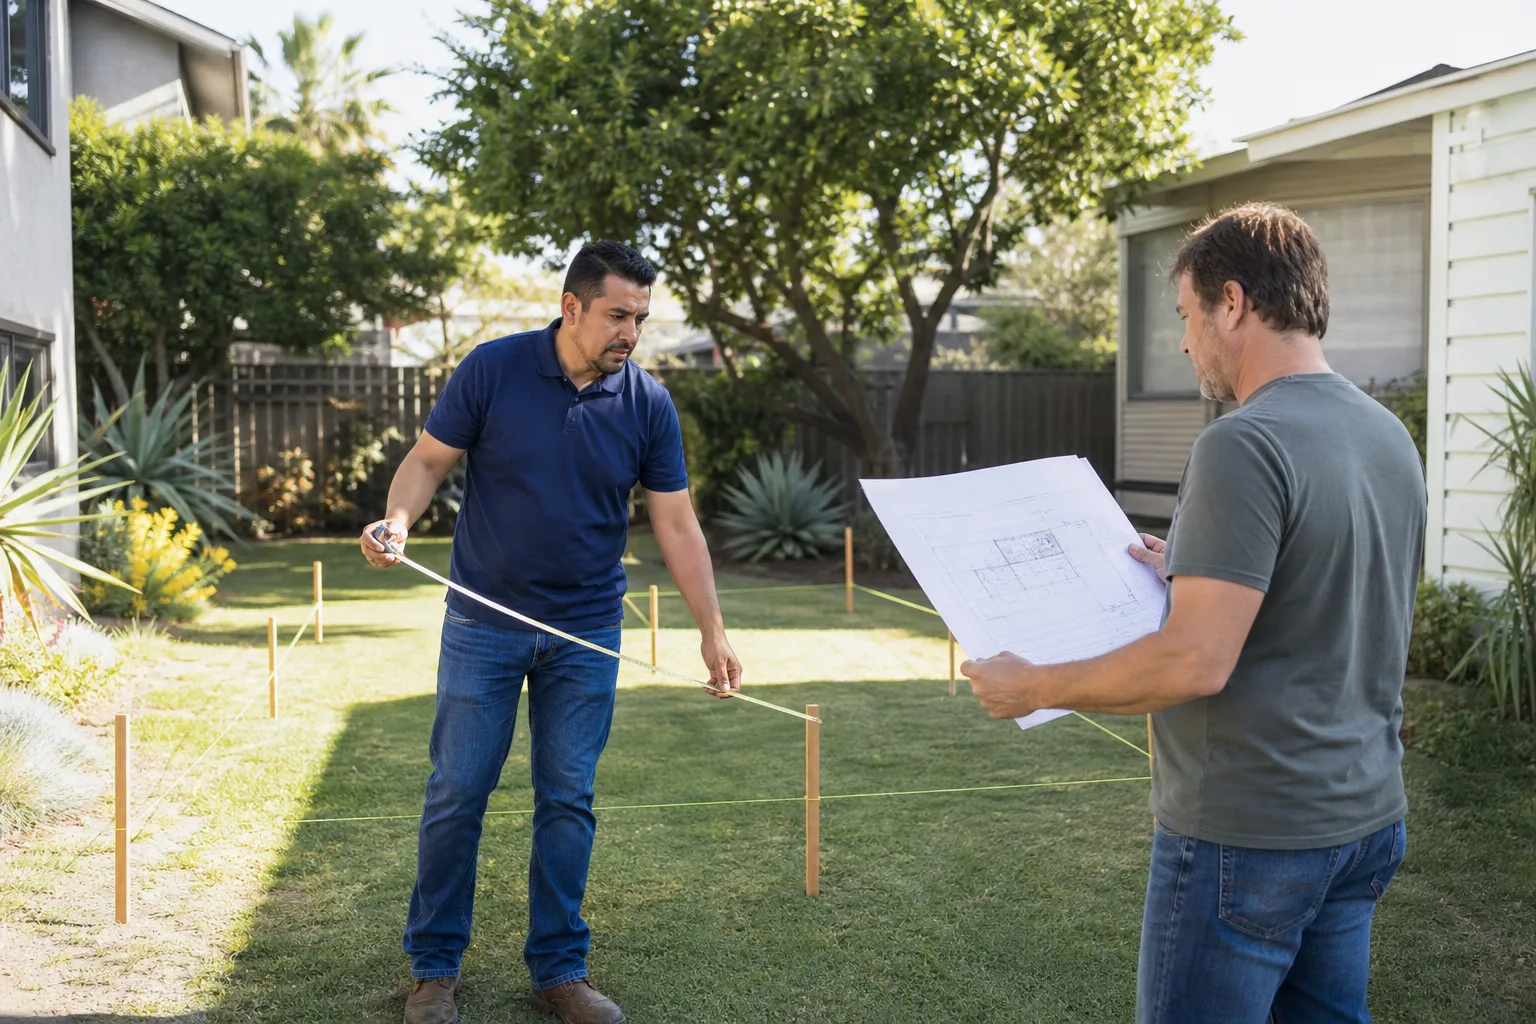
We walk the site with you. Reed Calloway or one of our senior project leads comes out, measures the addition footprint, checks the existing Hardie installation, and looks at access, drainage, and the property line. We listen to what you want the room to do.
- 3
A written price lands in your hand. Not an estimate with allowances. The price is the price. It includes materials, labor, dump fees, permits, and the specific Hardie products we’ll use to match your existing exterior.
- 4
We pull permits and start by the book. The city of San Jose reviews the plans, and we build to the approved set. Inspections get scheduled and passed before we close anything up. Nobody skips the permit board on a Fielding project.
- 5
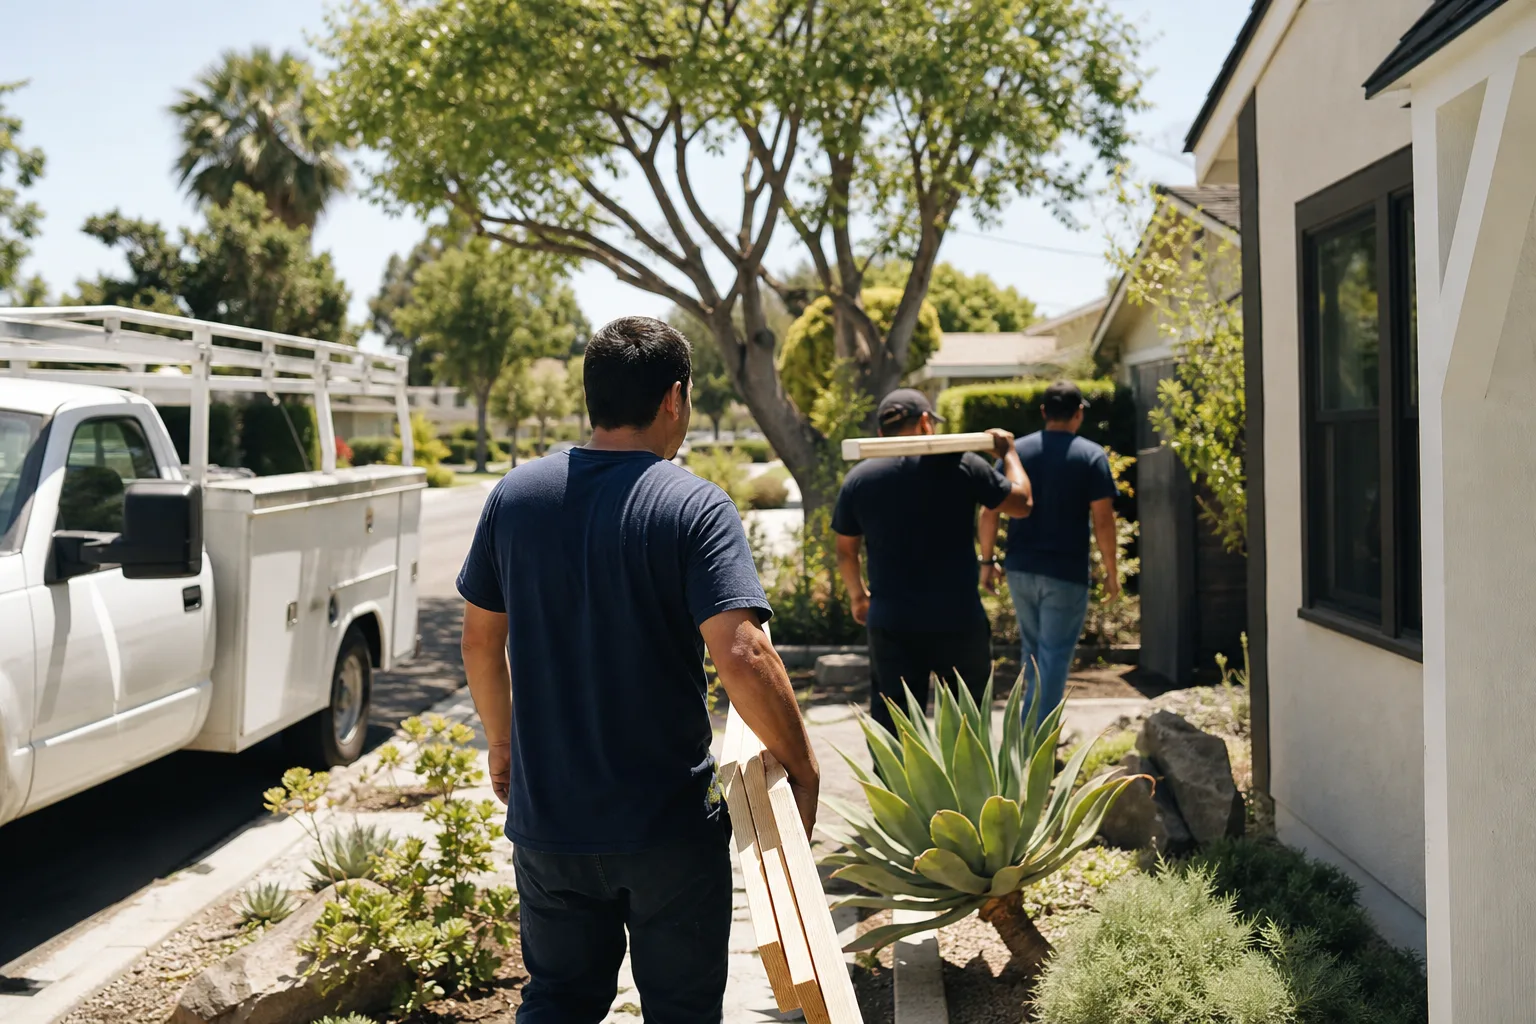
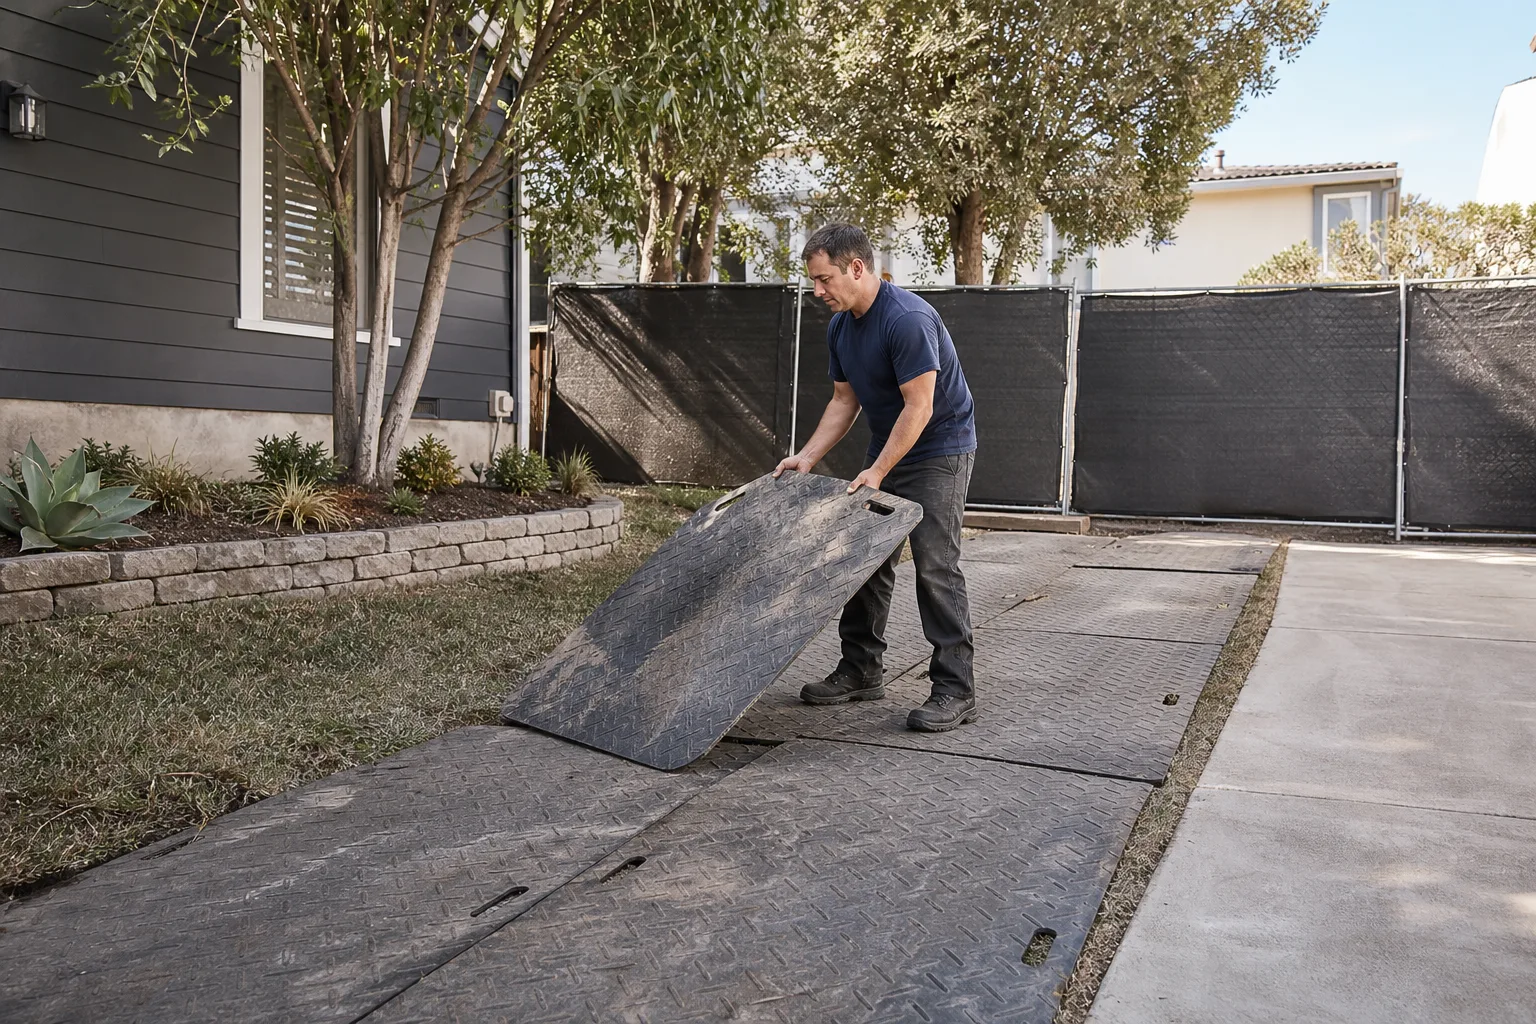
We build, we test, we clean. During framing, we re-check roof flashing and wall-tie details against the state of the existing Hardie cladding. After the addition is closed in, we run water checks at every transition and re-inspect nail heads and joints. The site gets cleaned every day and fully cleared at the end.
- 6
One year of written guarantee. The Garrison Standard covers workmanship defects for 365 days after completion. If something fails, we come back and correct it. No charge. No argument.
What James Hardie Room Addition Contractor Costs in San Jose
San Jose room additions run from roughly $250 to $450 per square foot depending on foundation type, roofline complexity, interior finish level, and how much existing Hardie siding has to be matched or replaced at the transition. A simple 200-square-foot bump-out addition typically starts around $65,000. A 400-square-foot primary suite addition with plumbing runs $120,000 to $170,000. Those numbers include our written price guarantee. They do not include permit fees, which the city of San Jose charges separately and we pass through at cost. If the addition requires a setback variance (the city’s written permission to build closer to the property line than the standard rule allows), that process can add 6 to 12 weeks and a few thousand dollars to the total. Call (669) 201-3984 for a written, line-item price on your specific addition. The estimate is free, and you keep the written price whether or not you hire us.
Why San Jose Homeowners Call Fielding ADU San Jose for James Hardie Work
We are the room-addition and ADU specialist inside the Garrison Partners family, and we have been building to The Garrison Standard since 2006. That standard is not a slogan. It’s five rules we write into every contract: show up in the window, price in writing, build it by the book, leave it clean, and stand behind it for a year. Reed Calloway runs the San Jose location, and he keeps the crew small enough that he knows the name of every person on your job site. Background-checked, uniformed technicians show up on schedule. Our experience with prefab platforms like Abodu, Cover, and Dvele means we can also advise you on build methods beyond conventional stick-frame if your lot or budget points that direction. Most of our room-addition clients are not shopping for the cheapest bid. They have already paid for a project that went sideways, and they want someone who puts the number in writing and finishes clean.
FAQs
Yes. We order the same HardiePlank lap, HardiePanel, HardieShingle, and HardieTrim products already on the home and match the paint to the existing finish. Hardie’s factory colors are stable over time, but sun fading on older homes may require a full repaint of the adjacent wall if a perfect visual match is important to you. We will tell you before you spend anything.
No. James Hardie siding warranties cover the siding product itself, not the structure. Adding a room, adding an ADU, or modifying an exterior wall does not void the manufacturer’s warranty on the Hardie products that remain in place. What matters is that new work is installed to Hardie’s published installation standards, which is how we build every addition. Call (669) 201-3984 if you want to discuss your specific warranty terms.
Typical timelines for a permitted room addition in San Jose run 10 to 16 weeks from the day permits are issued. Small bump-outs can finish faster. Additions requiring a setback variance or a planning review add 6 to 12 weeks before construction starts. We give you a schedule in writing and stick to it, which is what Reed means when he says, “Put it in writing, show up on time, build it right.”
The Garrison Standard covers workmanship defects for 365 days after we finish. If something fails inside that year, we come back and correct it at no charge, and the guarantee is spelled out on paper before we start. Most warranty problems with room additions in San Jose show up within the first winter, which is why our one-year term matters. You get a full wet season under your belt before the guarantee expires.
Yes. We work with Abodu, Cover, Dvele, and other prefab and modular platforms when that route fits the site and the budget. A detached prefab unit can be permitted and installed faster than a conventional addition in some San Jose neighborhoods, and we handle site work, foundations, and the Hardie siding integration either way. If your lot is tight or you want to explore build methods, call (669) 201-3984 and ask.
Call (669) 201-3984 to schedule a free estimate on your San Jose room addition. A live person answers, day or night.
Written by Reed Calloway, Owner, Fielding ADU San Jose at Fielding ADU San Jose, serving San Jose and nearby areas.